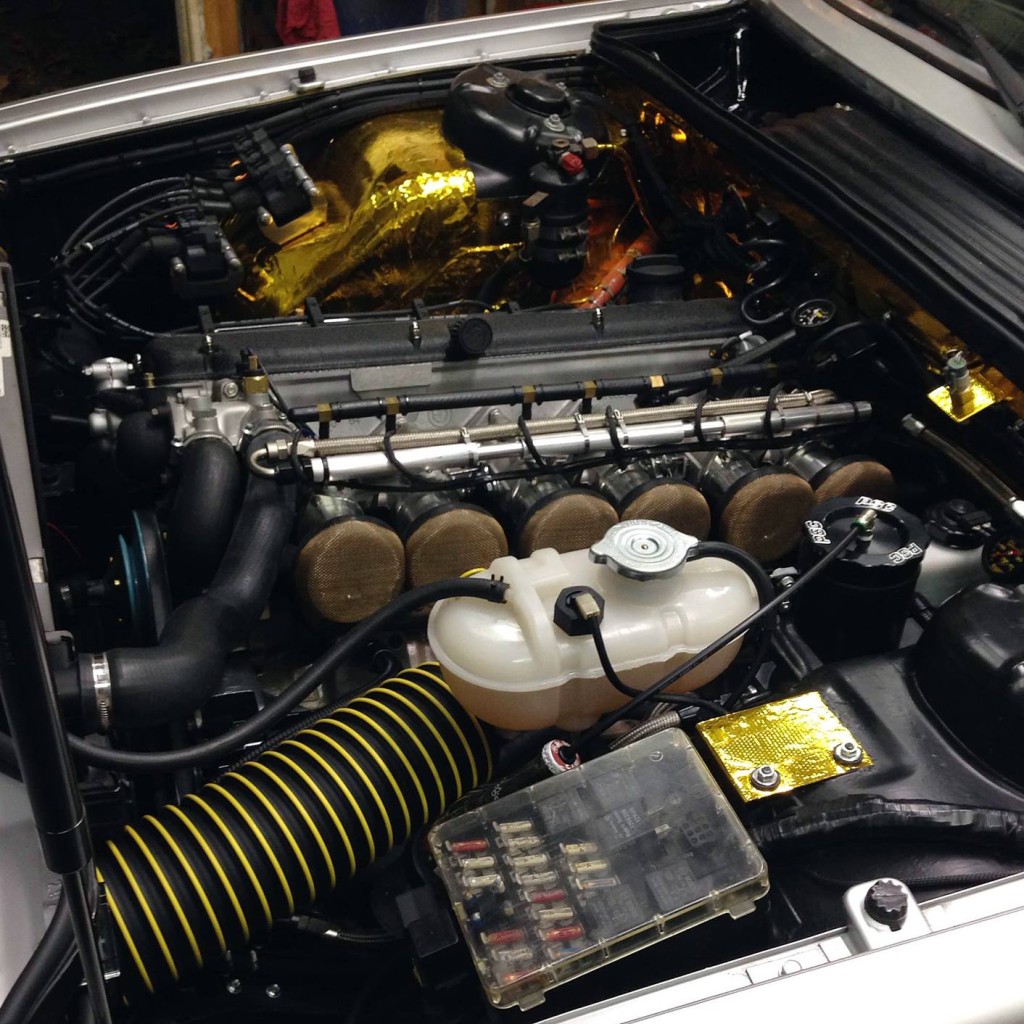
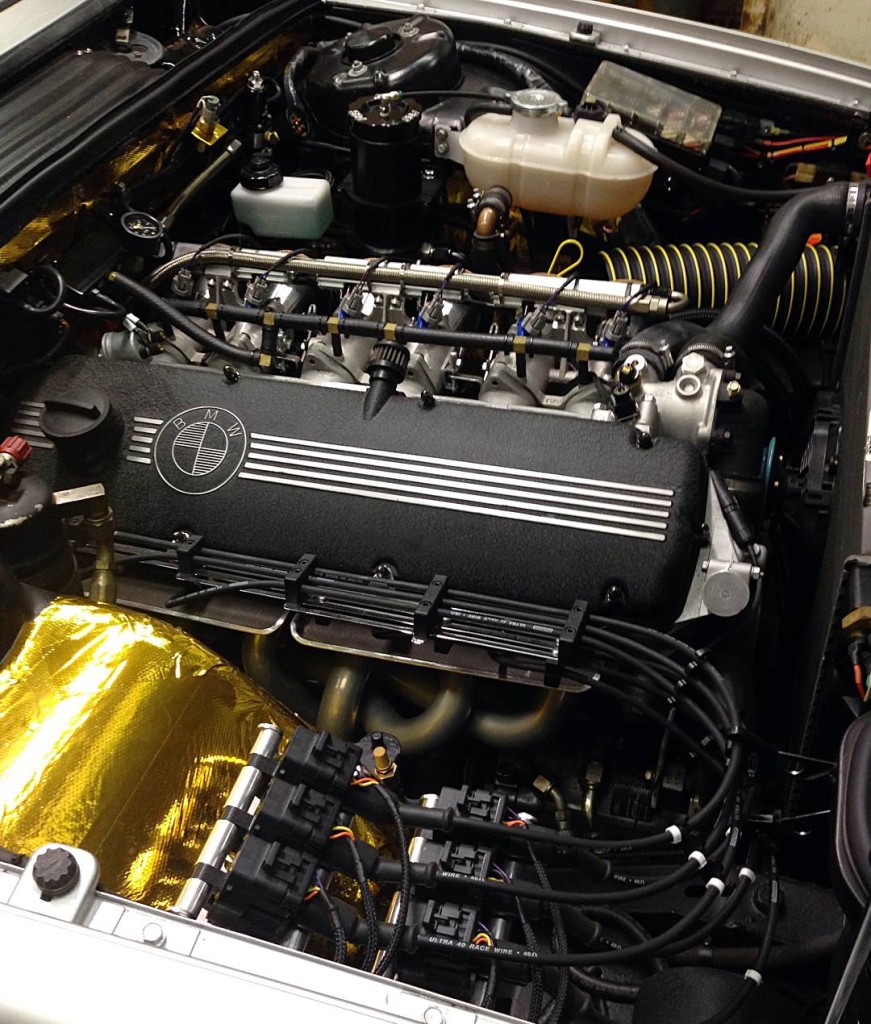
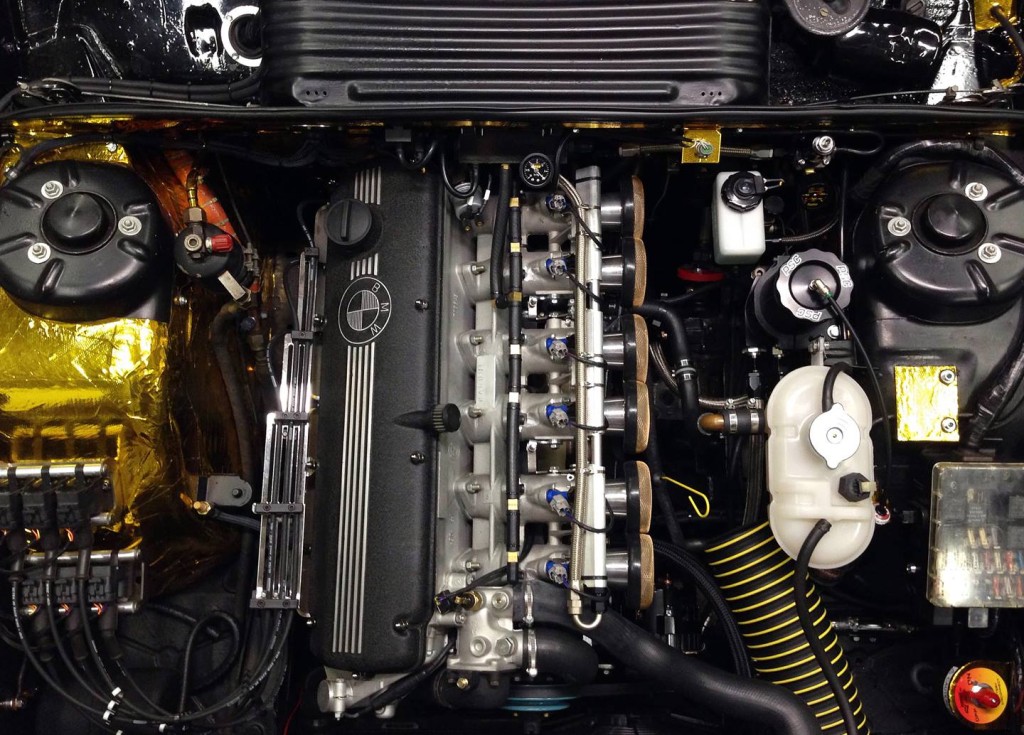
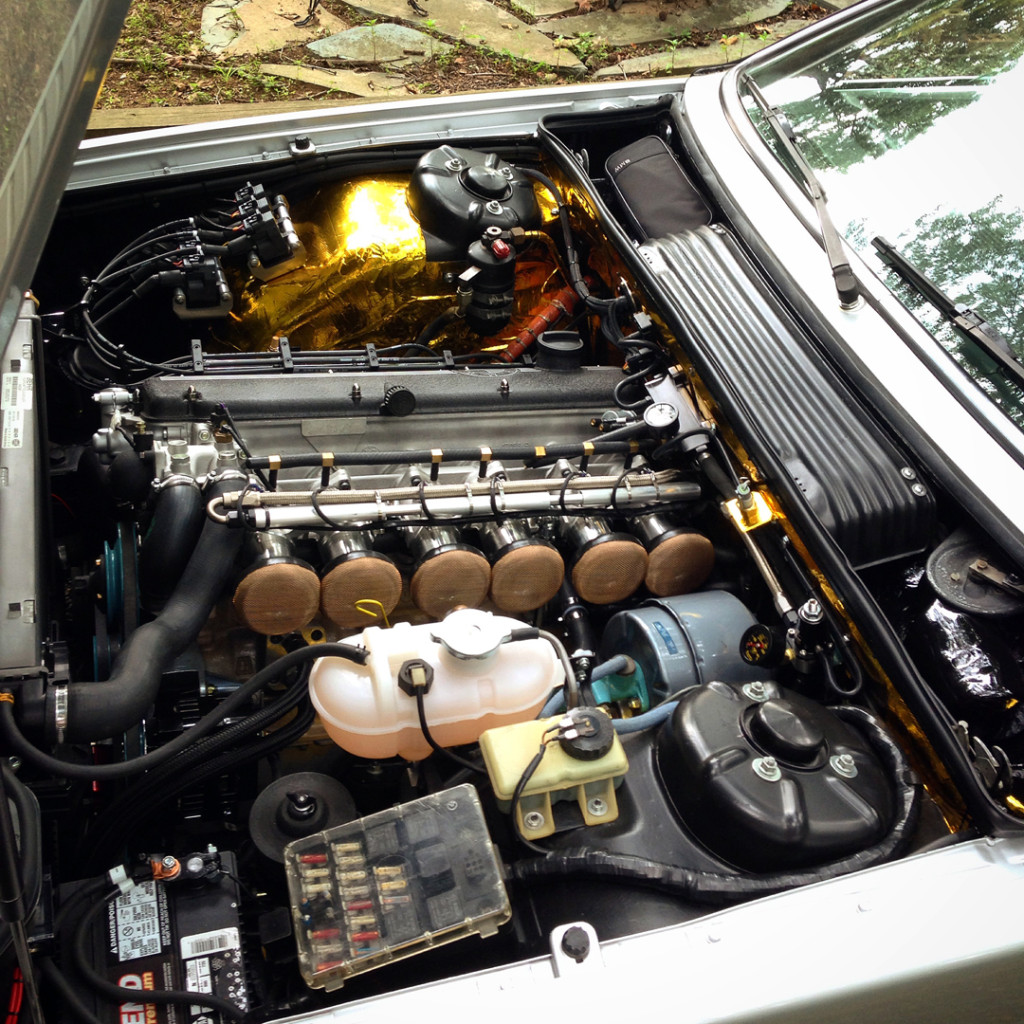
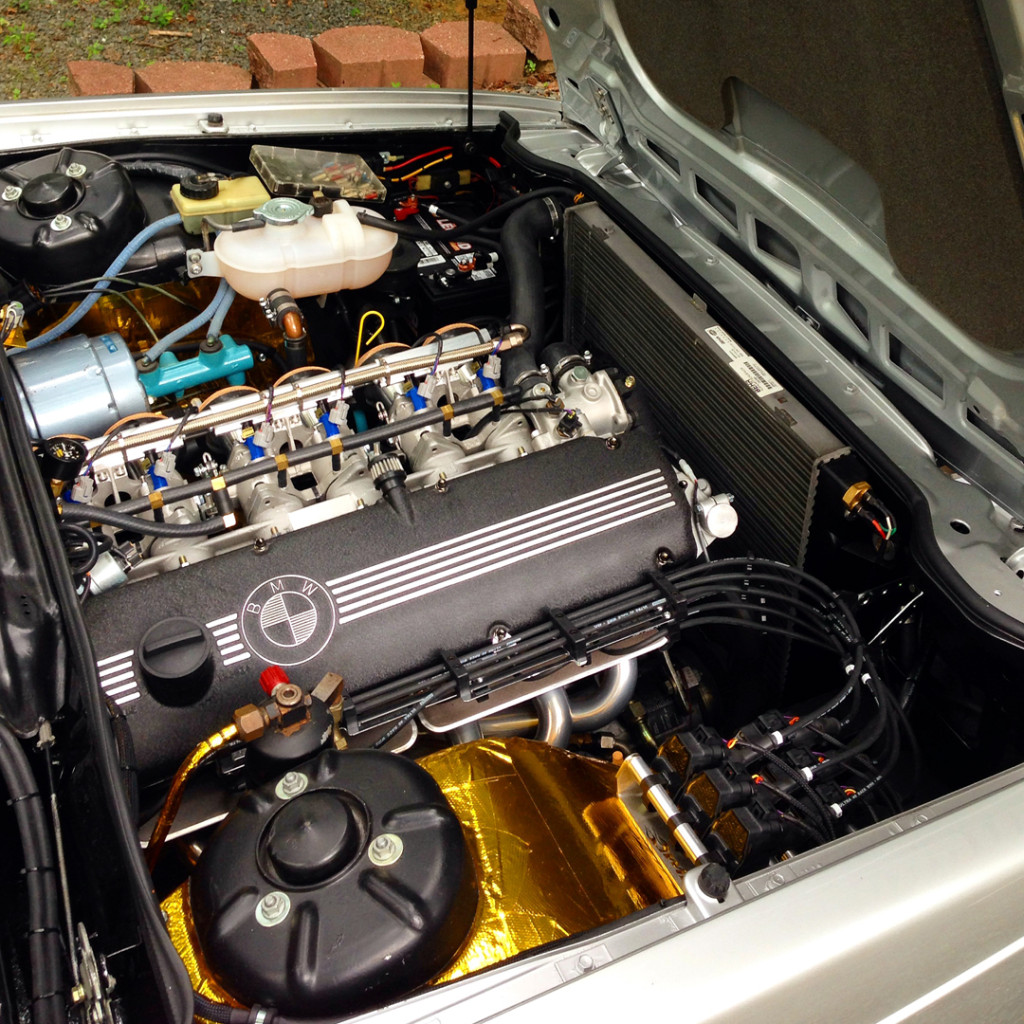
engine
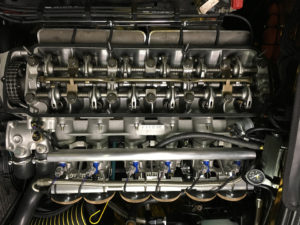
M30 Dual Chambered Oil Sprayer Bar (DCOSB)
A semi common/lesser known issue is the oil bar on the M30 engines. several things can account for it.
- broken loctite, you cant simply retighten and expect it to hold. once the loctite seal is broken it must be replaced. creating leaks and lost pressure.
- over torquing the bolts and pinch the and bar and present leaks and or cracking.
- “the front most cam lobe does not receive enough oil because of the lack of oil pressure in city driving. The long hollow OSB does not develop enough pressure at the front of the bar to oil the front cam lobe. Thus, the front cam lobe wears too quickly causing the M30 motor to run badly”
The DCOSB solves that problem by creating two pressure chambers to feed oil to the cam at higher pressure. a detailed how to can be seen HERE.
This is a simple upgrade to perform that has long lasting benefits
I also purchased a banjo bolt kit from DON. it includes new cross drilled banjo bolts, sealing washers, lockwire, and very detailed instructions!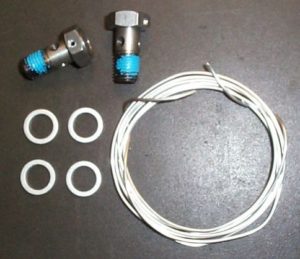
my photos:
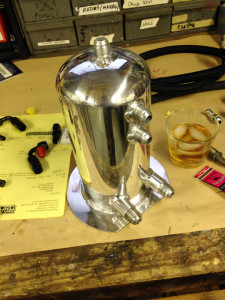
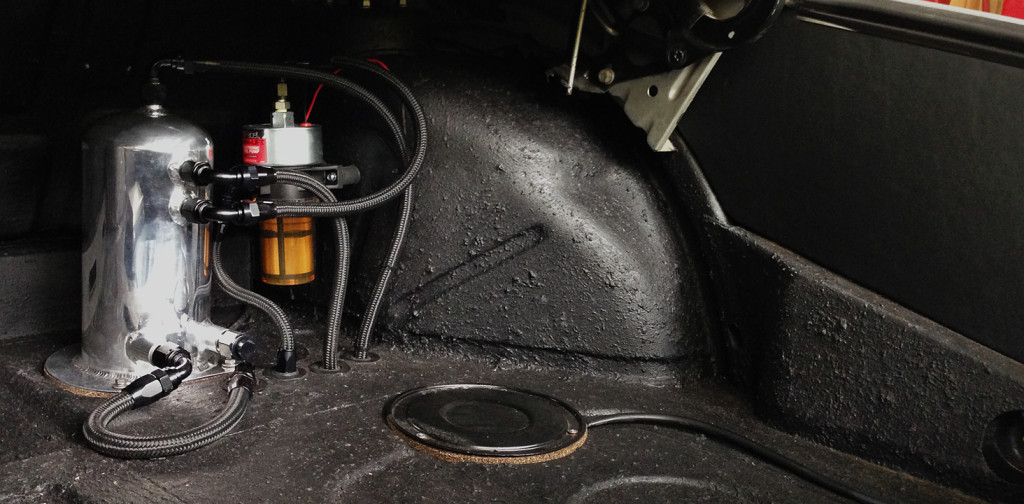
swirl pot and new fuel pump
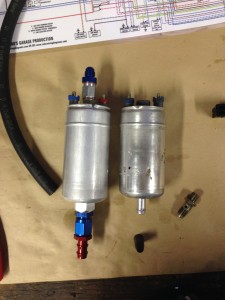
during the vintage rallies and on few occasion outside of the event, i came to the conclusion of the bosch 044 being grossly overworked. my setup had the bosch in the OE location, one would think an inline external pump could replace a inline external pump. unfortunately that was not the case. the 044 had been working fine but started to fail, by just stopping after working for awhile. the pump did its job on safety and designed to stop when it gets too hot, but leaving me sitting while it had to cool. the 044 was never intended to be used as a puller but rather a pusher. not to mention it was puller the fuel up and out before pushing to the engine, its needs to be fed not feed itself.
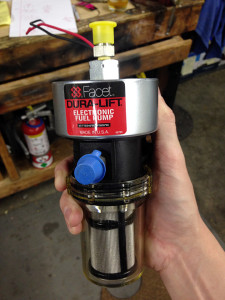
my solution was to add a lift pump, and swirl pot. the lift pump i used is the facet dura-lift, its mainly used in farming or diesel applications, but it’s a great unit: 12v, flows 33 gallons per hour and has 120″ dry lift. its self priming, filtered, and has an internal check valve all for under $100!
this pump is lifting the fuel from my factory tank and loading a swirl pot. the swirl pot has around a gallon capacity and doubles as a return res, fuel cooling and gravity feed for the 044 bosch which is mounted below.. i also replaced the 044 with a brand new one.
the install wasn’t the most pleasant task, honestly was a pretty tall order.. i used mercedes benz fuel pump isolating mounts and ss nylon braided line thru out. though ill likely go with teflon to fight the odor.
i’m happy to report no failures since this install.
cinco de dyno
after all the street and remote tuning it was finally time. i’m happy to report:
- 270.6 whp at 6200
- 210 ftlbs
overall i’m pleased with 270rwhp, here we have just reg old pump gas.. 93 with ethanol. my target was to clear 250 and 300 was a goal. i think the 300 is doable. i had some heat soak on all the later pulls after tuned. once cool the numbers would go back up..
also the harmonics on the trumpets with length i have gave me some reverberations up top seen in the map.. im certain with longer runners, no filter elements and some sort of heat protection ill make a fair amount more but i wanted a real world number that was true to my drivable setup..
it hit and held max tq at 2100rpm all the way thru.
with a 20% driveline loss thats a net of 338hp at crank. 318hp is 15% is used.
successful street tuning
pic is pretty telling, reliable and strong.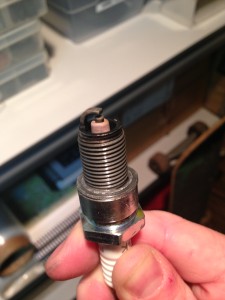 ready for next steps
exhausted
time for a change, sold the billy boat
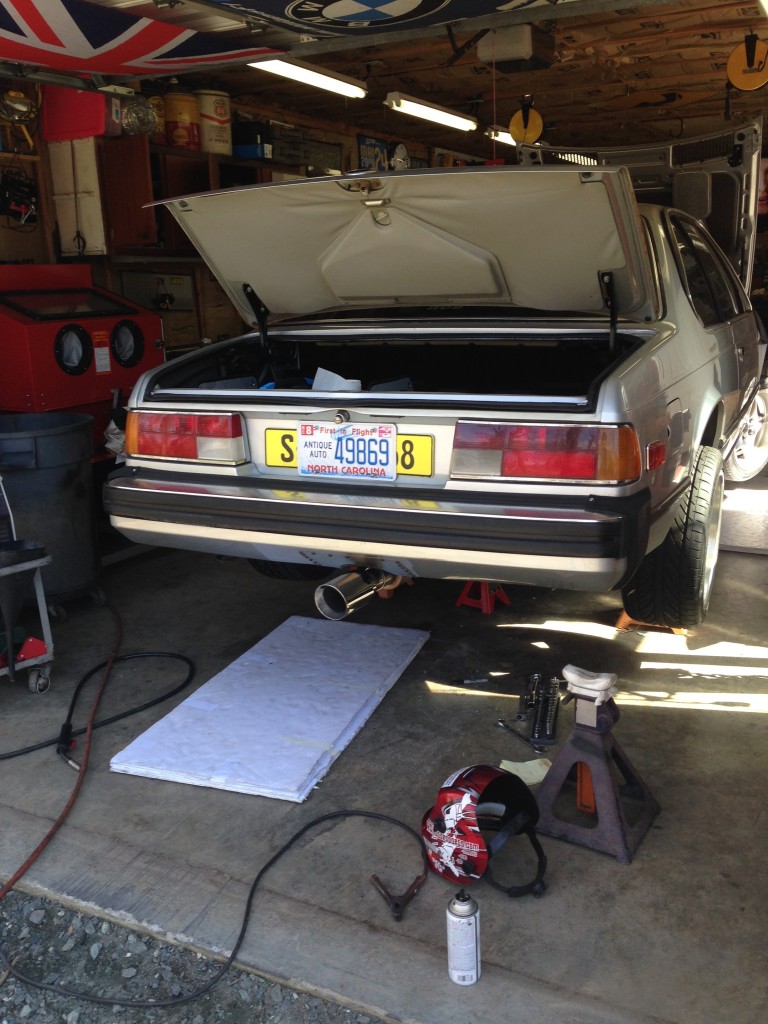
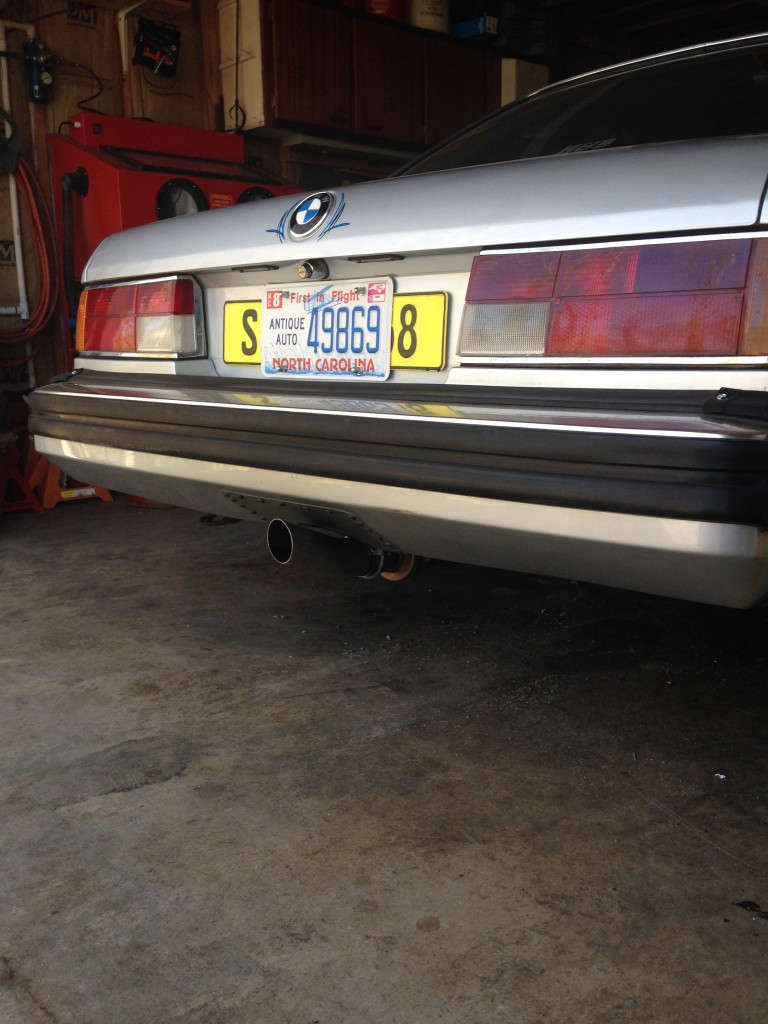
went full custom. not to bad for shadetree job.
still debating the tip, i went with the angled straight cut but still the rolled tip too.
loctite the crankpulley
make sure you use loctite on those with 2-pc crank pulley and balancers. especially if you have a cold natured low idling big six with a hot cam.. or this will happen, i’m very fortunate that i caught it..
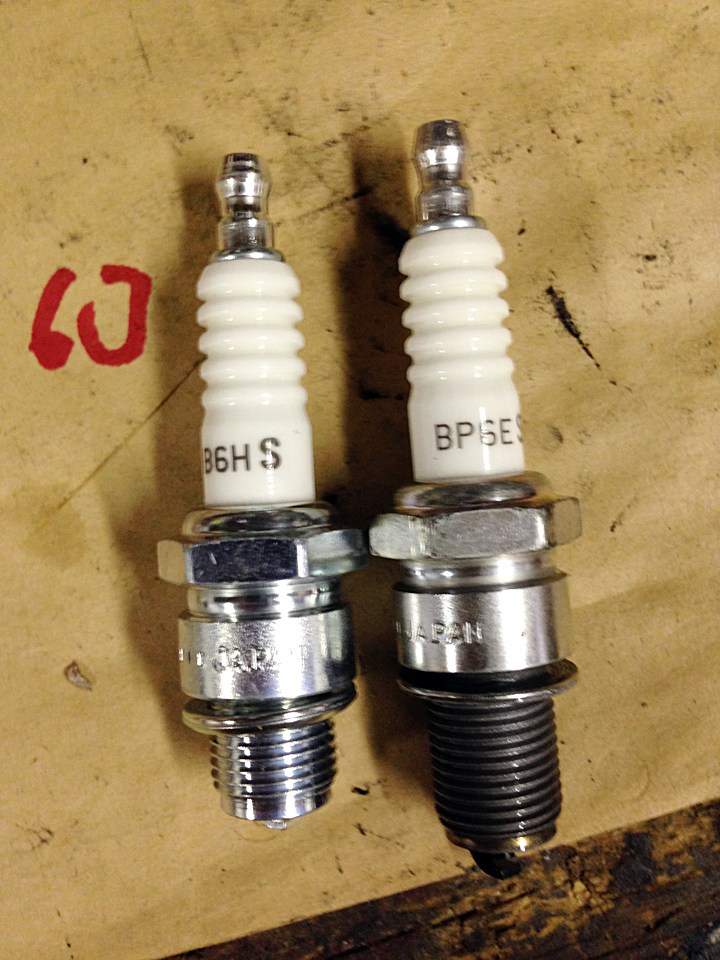
advance auto idiots
FYI these plugs aren’t the same. I wanted some spares for tuning and took my part number to Advance as they said over the phone they had what i wanted.
Make sure you check your numbers at the store. they are real world keyboard commandos with zero knowledge beyond that screen
lube
pulled the VC for a little pre-crank lube job.
(nice and clean) *note the double row timing chain conversion!
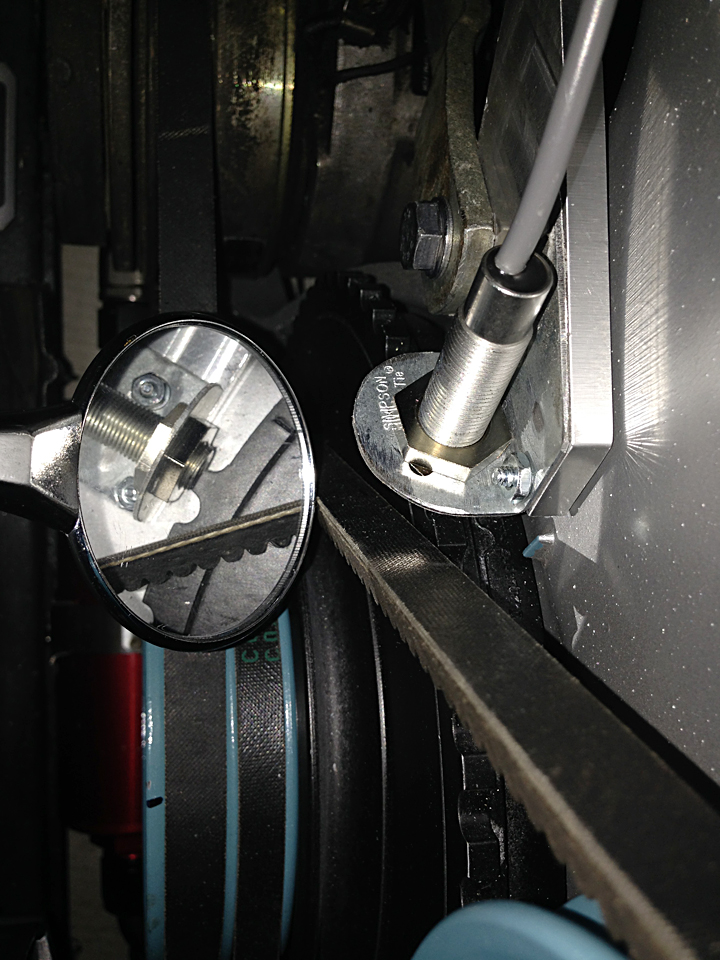
DIY: Hall Effect Crankshaft Sensor
since I’m no longer using the L-Jet system & converted to the 60-2 crank wheel i needed a sensor. i used the threaded shaft style from diyautune at the same time made mount and wired her up with great success!
Fuel Pump Failure
the car had an aftermarket pump upon arrival to the stable. though i was unsure of its age. the 5 years it sat probably didnt help. went with a tuner favorite the BOSCH 0580254044 @ 300 LPH
harness wiring
This was quite possibly the most tedious and time consuming part of this build. i have a new found respect for those that wire and do it cleanly. this is car is my humble attempt. though i now know moving forward ill go the extra mile to do it correctly.
haltech house
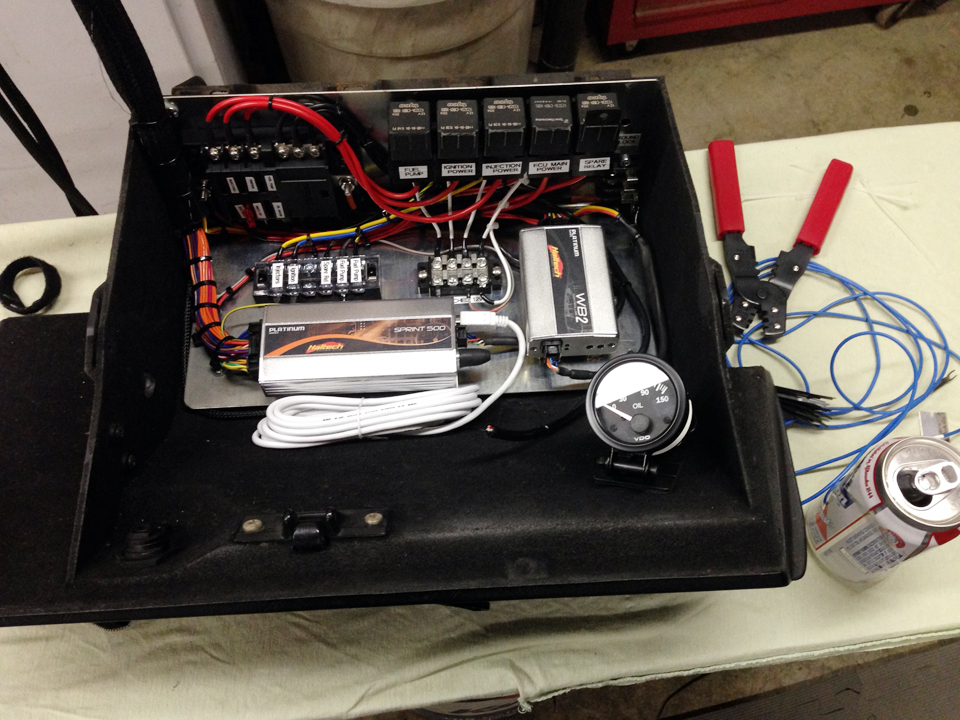
The EMS is a huge part of this project. it needs a safe and accessible place to live. it also needs its own circuitry meaning relays, fuses and distribution points.
this gallery documents my build and placement of the Haltech EMS and components.
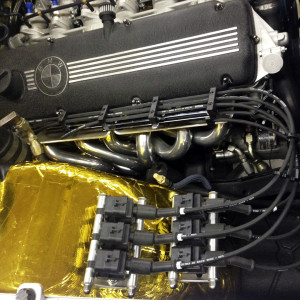
plug wire
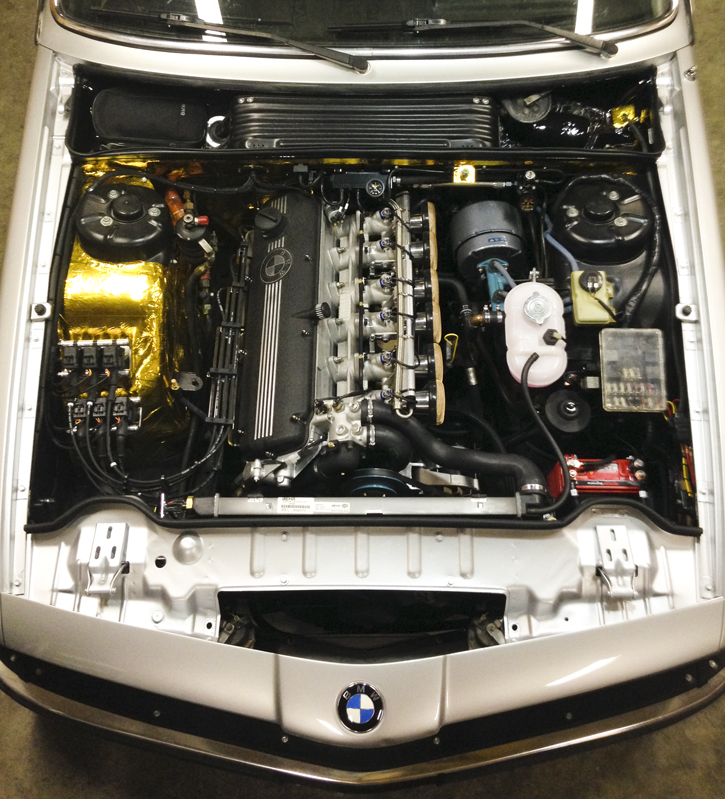
i grabbed the Moroso 73828 plug wire set. they are a 8.5mm LS-1 based wire, which are unterminated on one side allowing me to custom the length for the e24. also grabbed some v8 loom/separators it took a bit of work to combine and lengthen them but im very pleased.
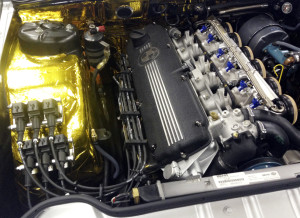
coils mounted.
finally received the moroso ls1 plug wires i wanted, ill be cutting them soon, but this allowed me to mount the coil brackets and thus the coils. really pleased with my placement decision (originally wanted to go thru FW but decided against it).
exhaust
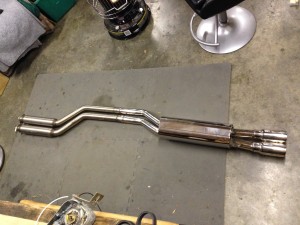
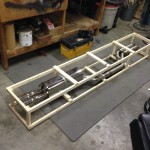
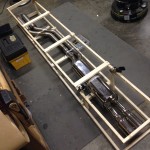
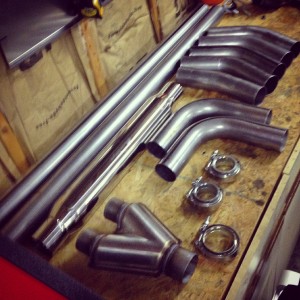
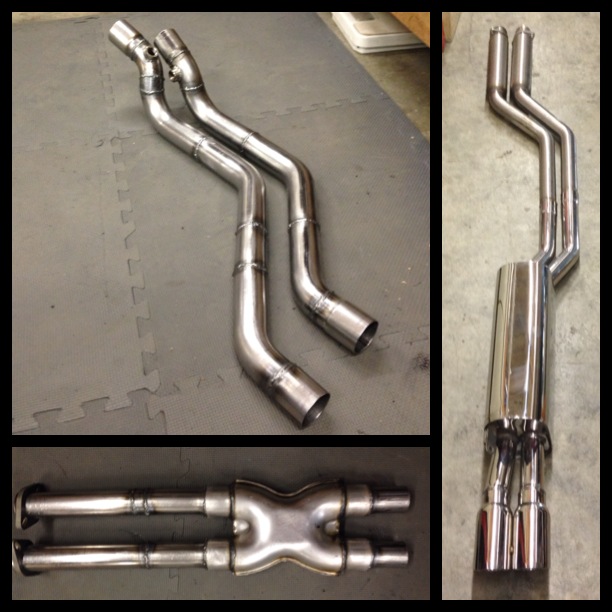
i modified a brand new billy boat cat back system. i went with the BB for the SS build and quality along with the fact its dual pipe with resonators. the mid-pipe to the headers i built myself, its a true dual 2″ pipe with a early stream X-pipe. all mandrel bent construction and welded. i added an o2 bung per pipe just after the headers.
took forever to get right and nearly lost my thumb, but im very pleased. god its long.
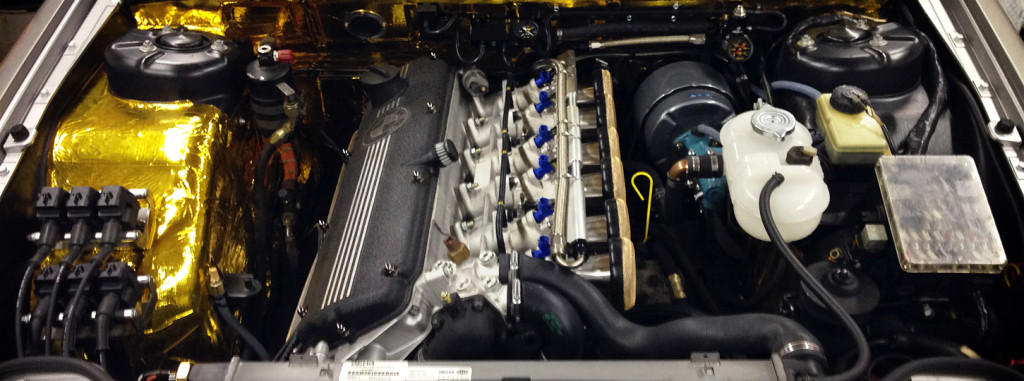
ITB linkage
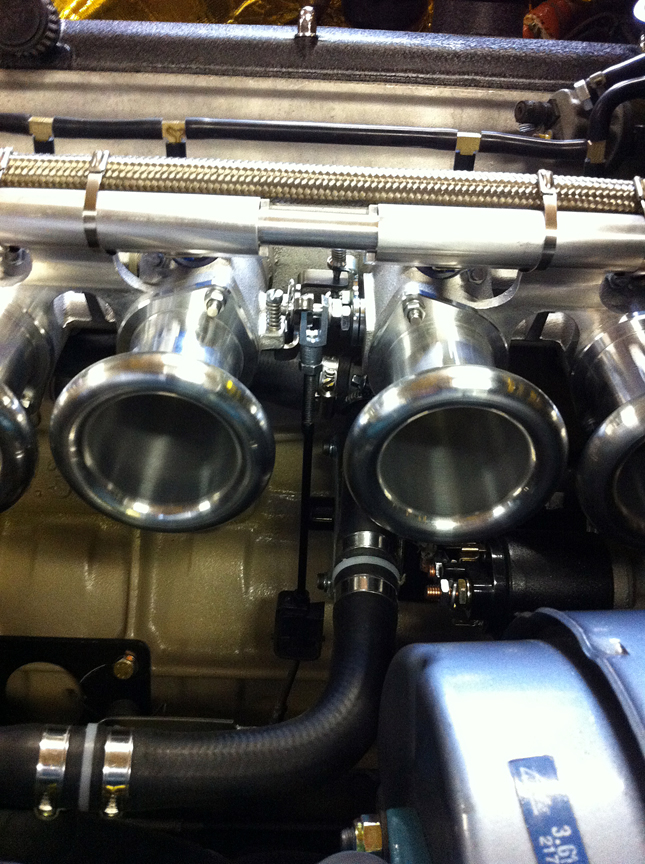
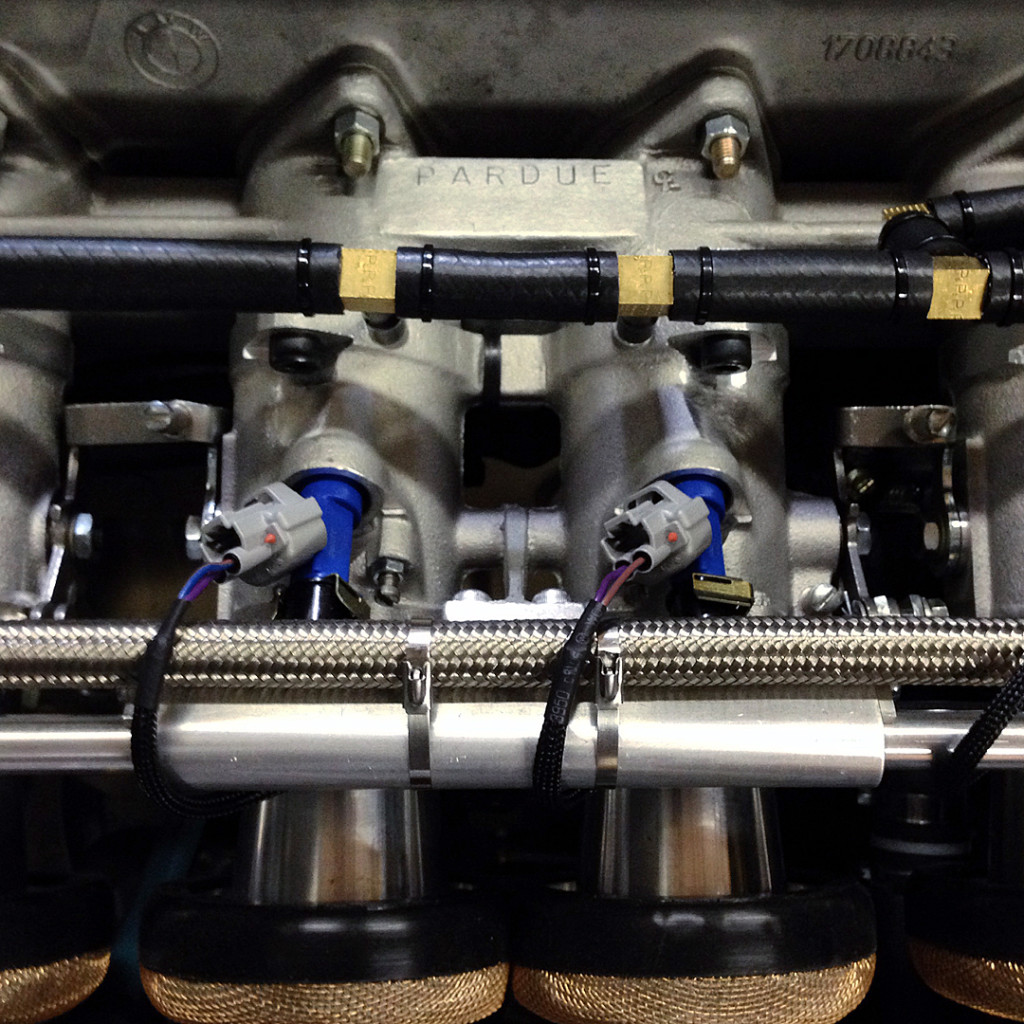
someone had asked about connecting the TWM system to the early linkage. here is my solution, using mostly stock bits to keep the adjustments but i made a “Y” for the pin and threaded it to the OE link which was shortened.