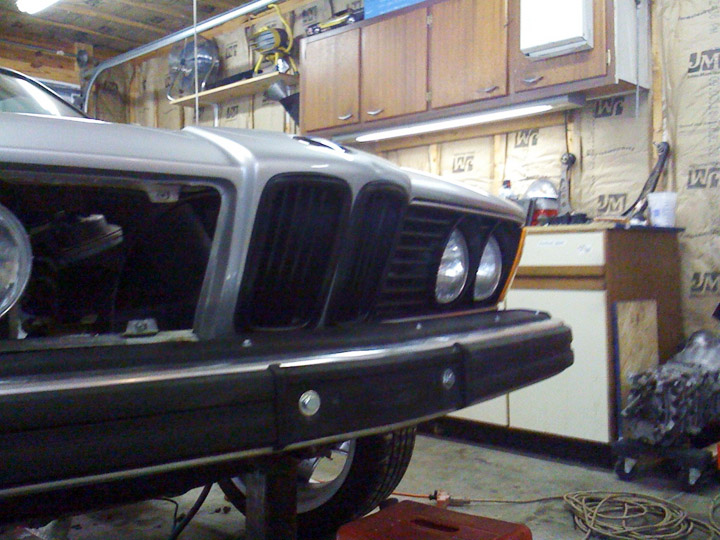
exterior
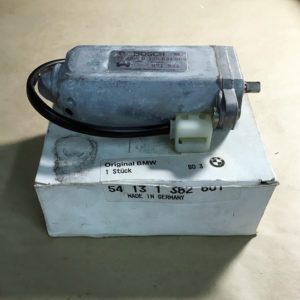
NOS: OE sunroof motor.
Some may not know but the early cars have the sunroof motor in the driver’s rear fender well rather than at the sunroof which makes it unique and difficult to find. I was able to find one, still in the box “1 Stück” !!
Also on the early e12 based chassis there are two sunroof transmissions. below you’ll see the main transmission dismantled and cleaned.
Fresh air.
while i’m relocating the battery i decided to try forced fresh air to engine bay to see if there are any clear benefits, the drivers high beam is perfect and has a clear shot for sidedraft, i’ll be adding some duct work and perhaps removing the passenger side high beam as well. i went with store bought funnel which fit the OE rings and mount but i did need to modify the bulb cups. the screen is readily available for motorcycle light protection, the factory bmw bulb is 5.75″
carnage.
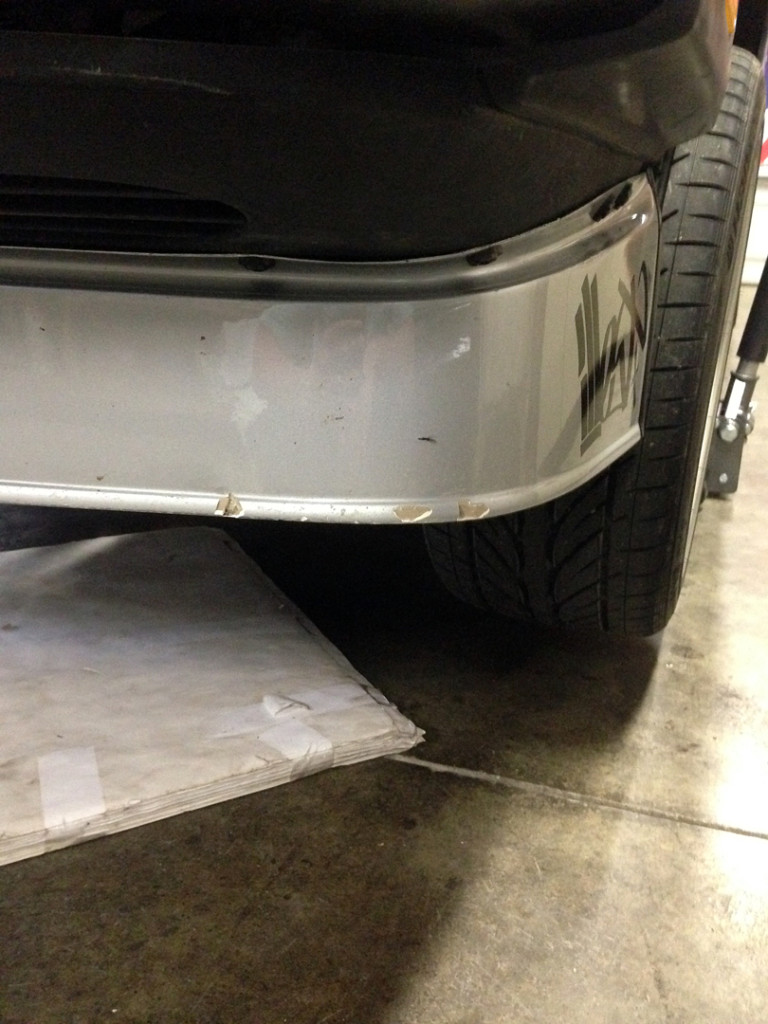
the vintage rally wasnt entirely without incident. i miss judged the depth of some gravel mountain roads and the lip turned into a shovel. spiderwebbed the side too.
Action Shots.
there were a few guys snapping pics for the vintage event. heres a few from our rallys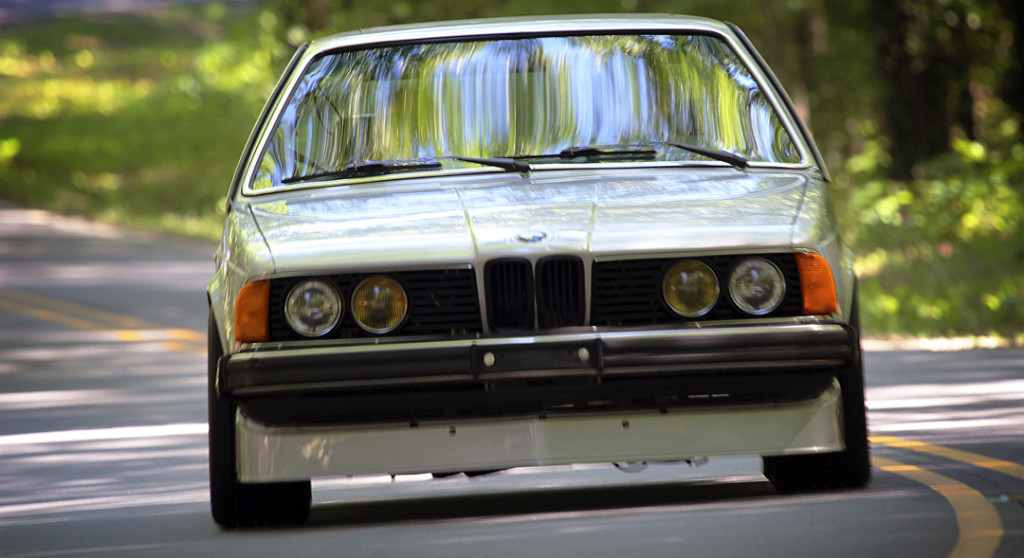
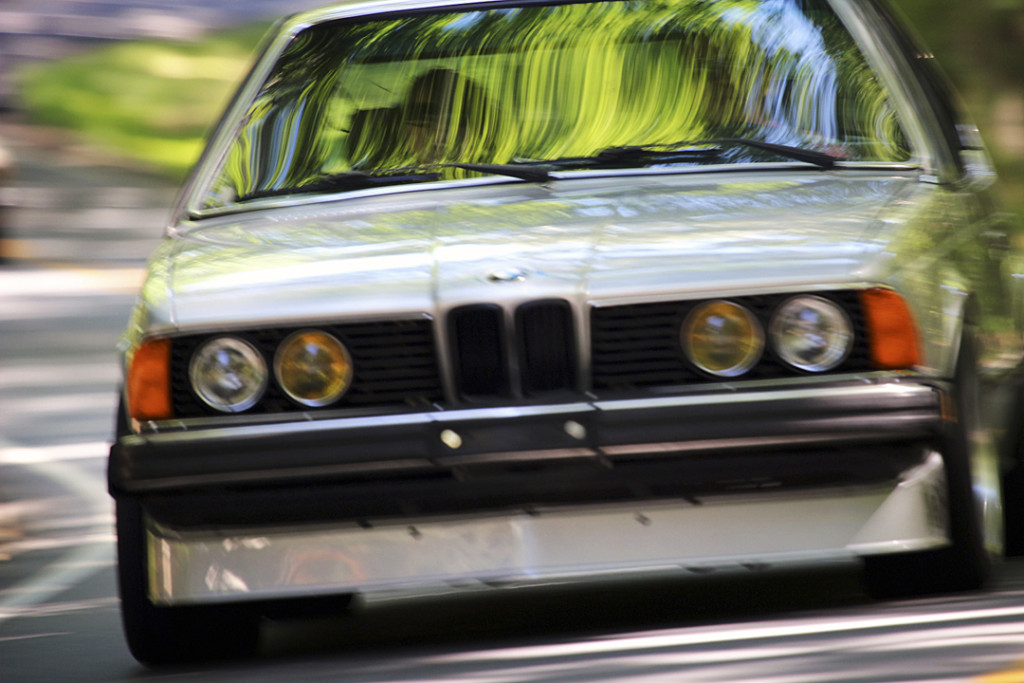
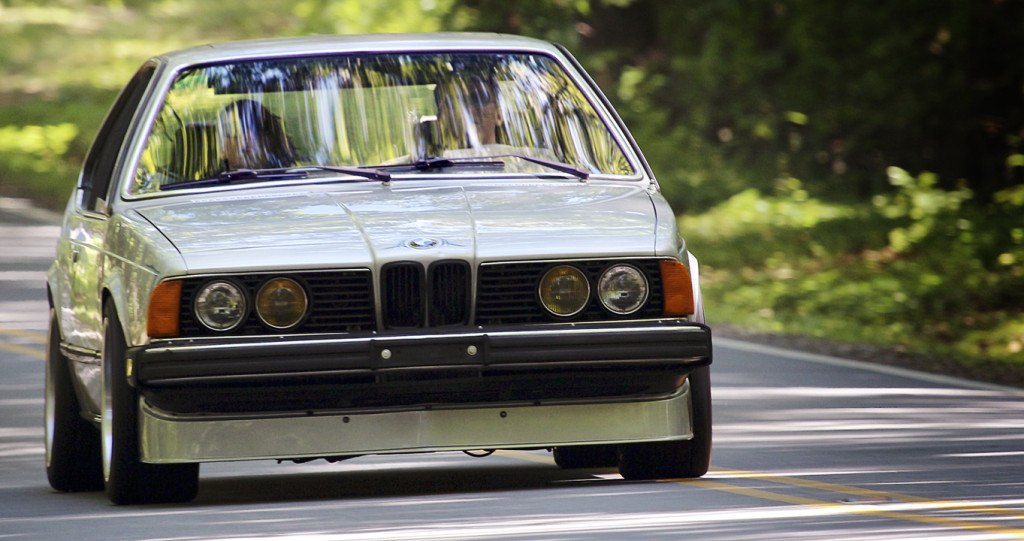
classic lines
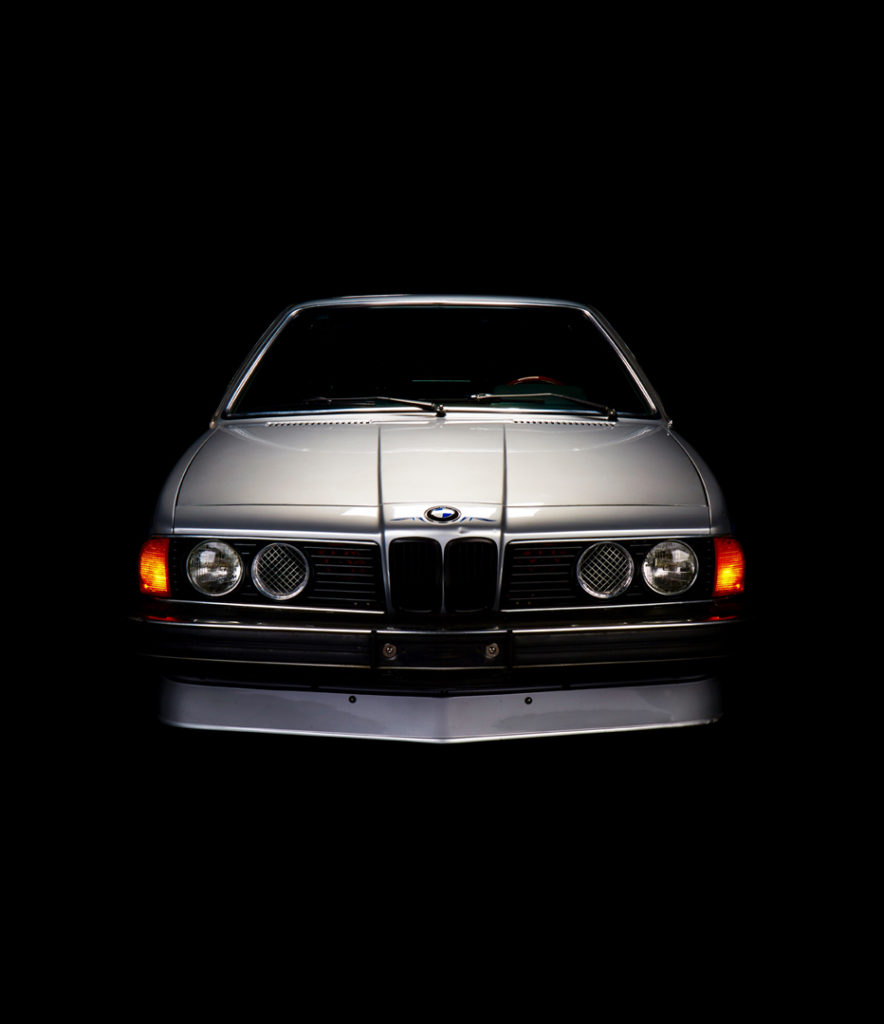
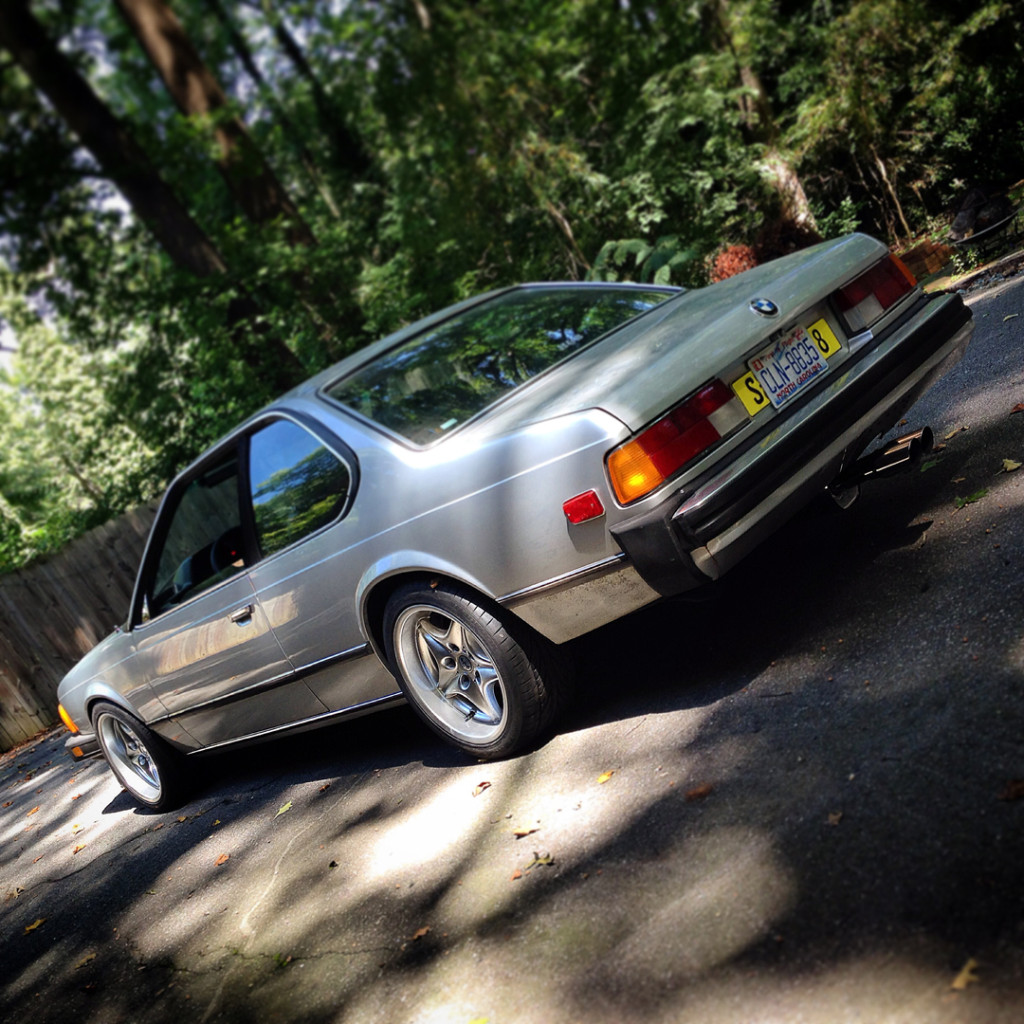
iv’e been thinking of adding some color since removing the black pin.. these are perfect the style and subtle styling of the car. the blues represent the BMW and H&B livery. the exterior is now complete.
Foreign Foam
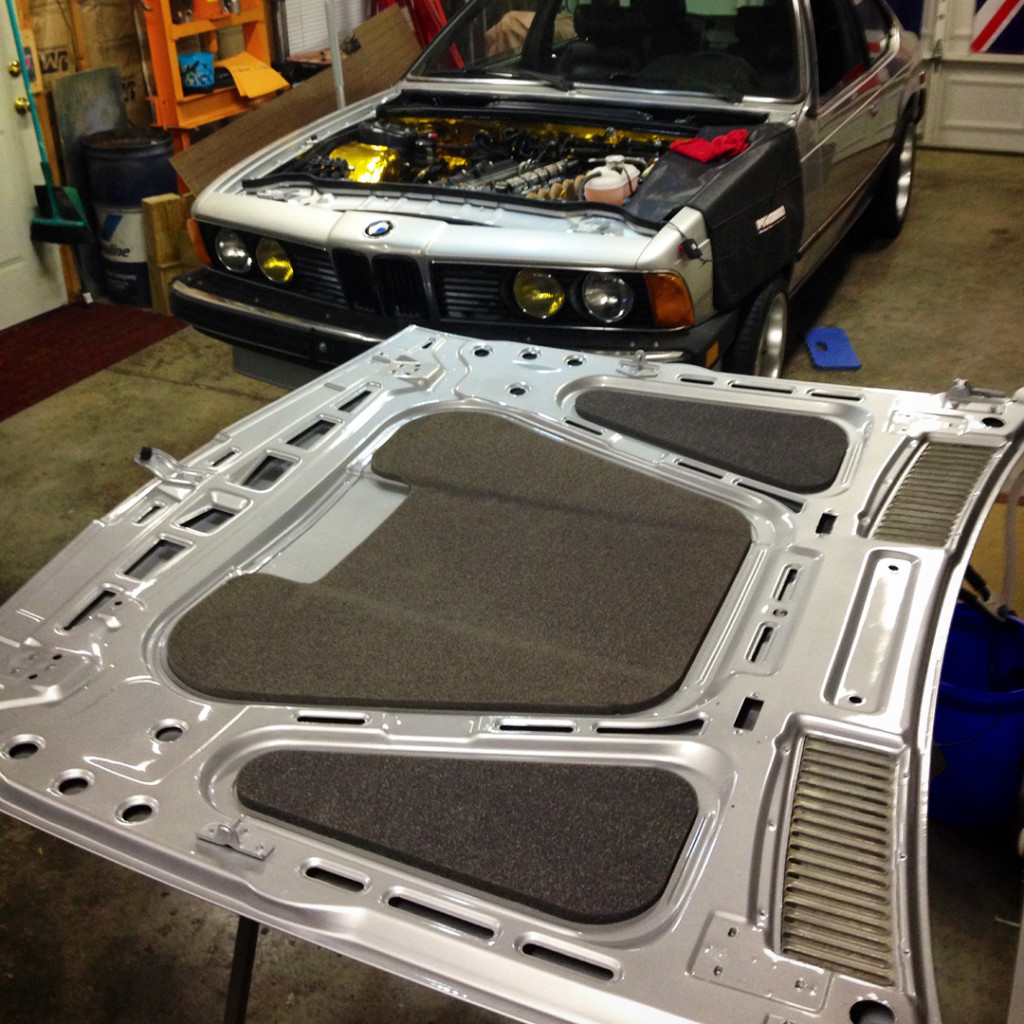
after getting the hood back from paint (underside) i was finally able to install the OE hood foam that traveled many many miles to be here.
rear corners
NLA from Germany and one from Canada. Boredom work happening whilst i wait for the ECU.
cutout
the billy boat would not fit the oE surround. nothing a cutter and some sheet wont fix.
really pleased the result below.
to get there, took out a fair bit of the valence and used a thin tin template as a guide for my steel piece
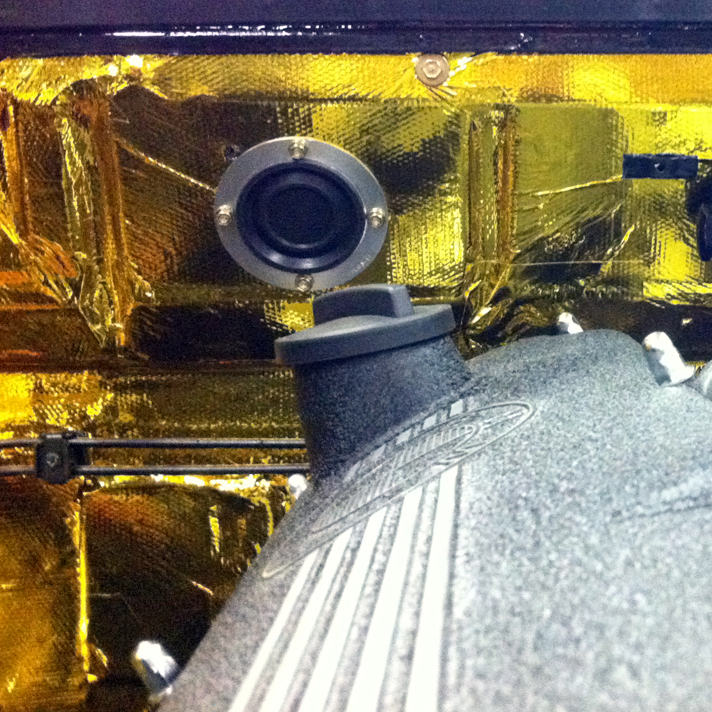
Seals-it Firewall Grommets
really stoked to see the haltech harness poke thru these guys. such a nice dress up item!
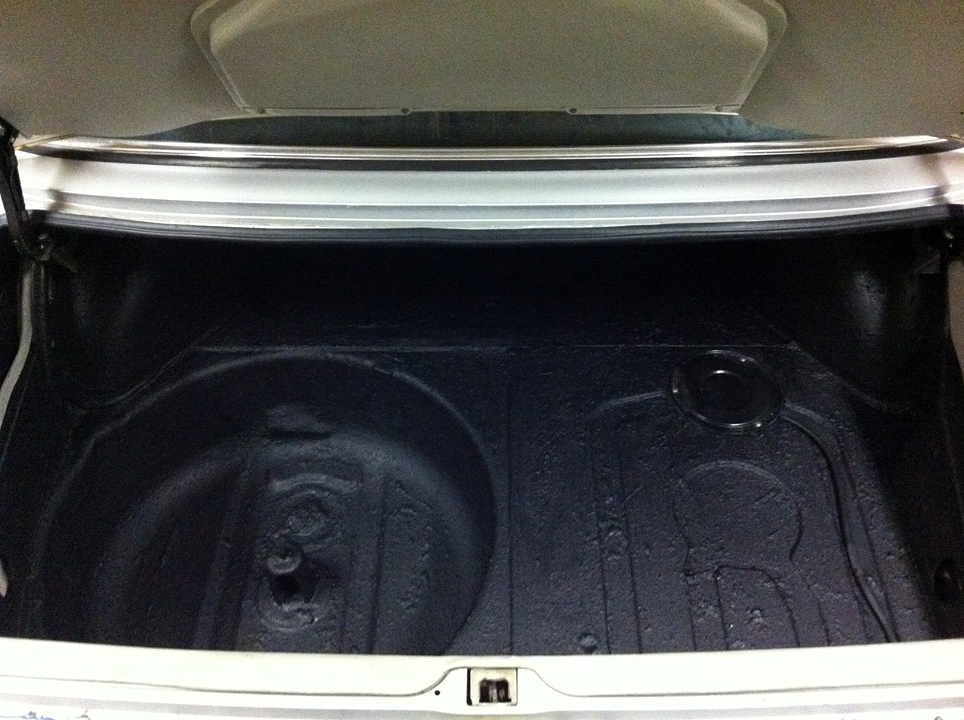
bed-armor
got the duplicolor bed-armor with kevlar for the trunk. wasnt going to fool it originally but the trunk was really a short coming in the build. took 3 coats but im very pleased with the outcome. also thru in a little paint.
Painting the Fender Rails
after attending the vintage this past week it made me want to tidy up a bit. decided to go ahead and dress up the fender rails. i used http://www.automotivetouchup.com for a ready to spray can, came out great !
saddle paint
this past week i was to the point i felt safe enough and far enough along to paint the radiator saddle.
rust!!!
ugh this was a nightmare, was a huge amount of rust in the pass well. think it was from the harness grommet over the glovebox being nonexistent. i discovered it late in the build while doing the new driveshaft. i noticed a bubble in the undercoating then poked with a flat head, that flathead went all way thru. the carnage is below.
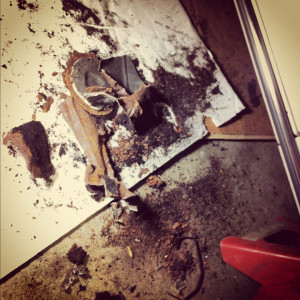
the best thing i could do was cut it out. cut all the rust from the belly on both pass. side foot wells. added new flat stock and welded her up, slapped on some POR-15 marine clean, metal ready, and paint. finished up the underside with some new undercoating.
