build
plug wire
i grabbed the Moroso 73828 plug wire set. they are a 8.5mm LS-1 based wire, which are unterminated on one side allowing me to custom the length for the e24. also grabbed some v8 loom/separators it took a bit of work to combine and lengthen them but im very pleased.

coils mounted.
finally received the moroso ls1 plug wires i wanted, ill be cutting them soon, but this allowed me to mount the coil brackets and thus the coils. really pleased with my placement decision (originally wanted to go thru FW but decided against it).


rear corners
NLA from Germany and one from Canada. Boredom work happening whilst i wait for the ECU.

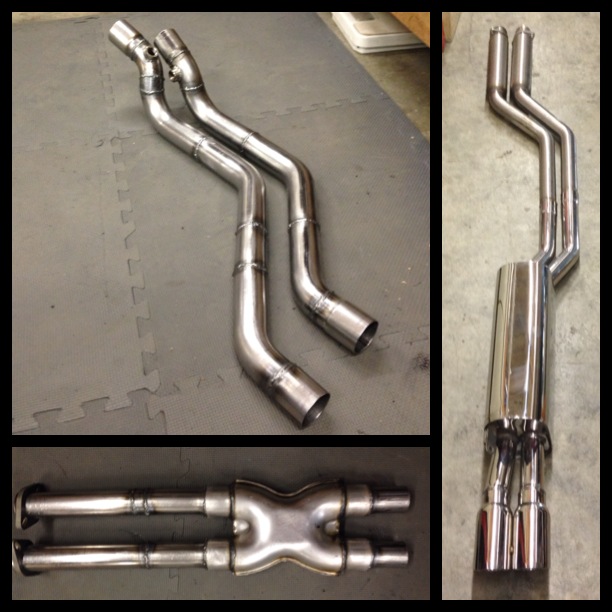
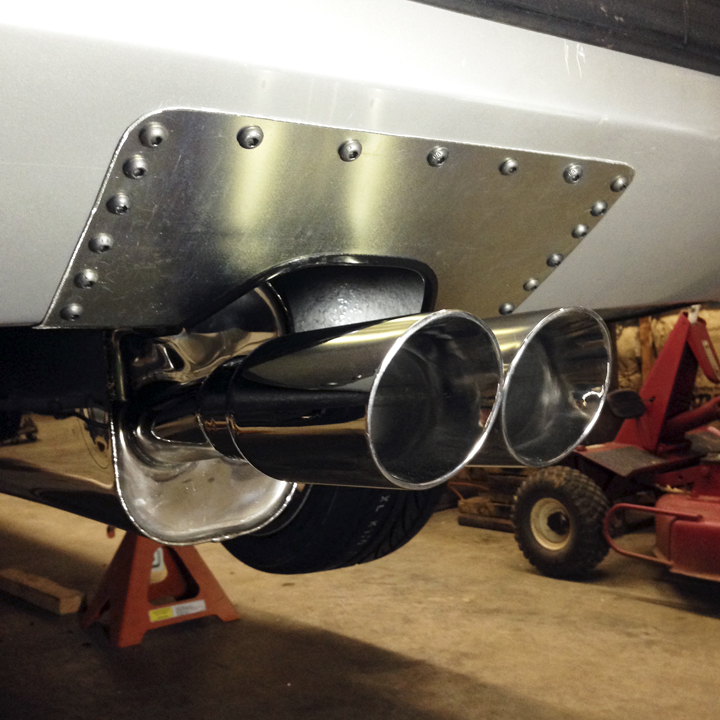
exhaust
i modified a brand new billy boat cat back system. i went with the BB for the SS build and quality along with the fact its dual pipe with resonators. the mid-pipe to the headers i built myself, its a true dual 2″ pipe with a early stream X-pipe. all mandrel bent construction and welded. i added an o2 bung per pipe just after the headers.
took forever to get right and nearly lost my thumb, but im very pleased. god its long.


ITB linkage
someone had asked about connecting the TWM system to the early linkage. here is my solution, using mostly stock bits to keep the adjustments but i made a “Y” for the pin and threaded it to the OE link which was shortened.
cutout
the billy boat would not fit the oE surround. nothing a cutter and some sheet wont fix.
really pleased the result below.
to get there, took out a fair bit of the valence and used a thin tin template as a guide for my steel piece


Sidedraft Filters : BILLS B RACING
custom filters in any color combo and application. with insanely fast shipping …


parker hose saves the day again.
i cant count how many times i’ve used parker hydraulics fittings for special needs on all my cars. their counter stores are a great resource for barb, metric, and JIC/-AN fittings & hoses.
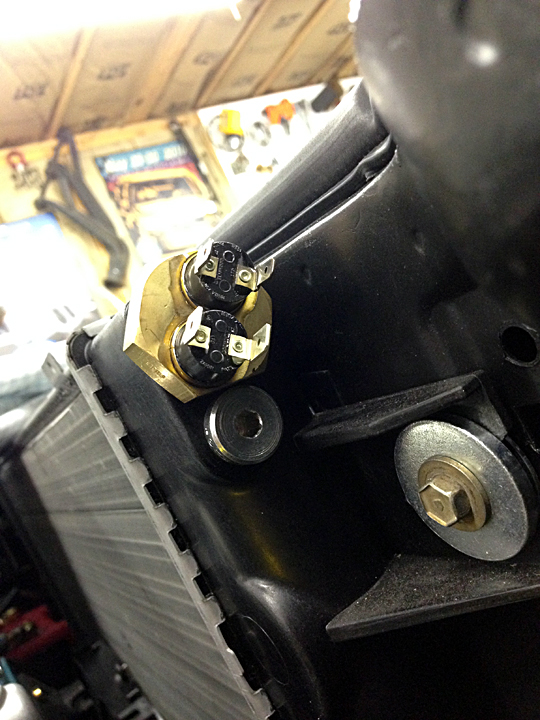
- running the e28 535 radiator
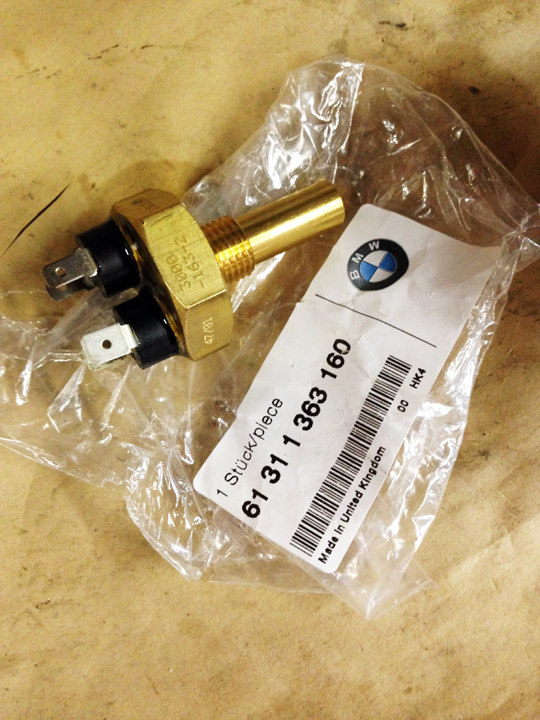
- wanted use the OE sensor from my e24 (which is huge) the standard OE hex plugs wouldnt turn because of clearance
- solution: Parker 14mm inner hex plug.
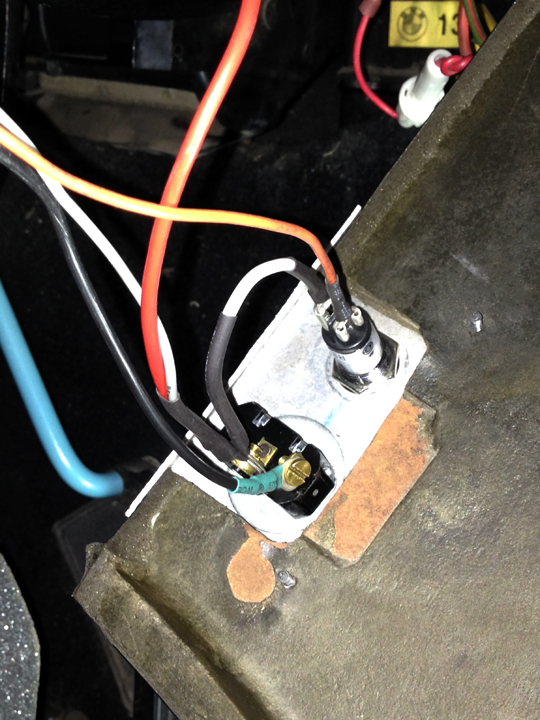
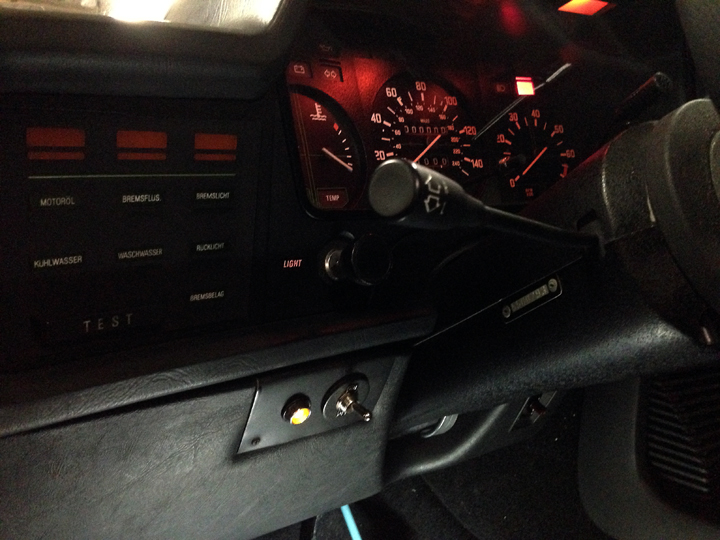
AUX. fan interrupt switch
the haltech ems will be controlling my AUX. cooling fan, since i deleted the mechanical clutch fan. here are a few shots of the wiring and switch. the led indicator gave me a fit acting as a diode while the switch was wired to the negative. a little tweaking gave me the following:
- switch:
- Blk wire = ground
- grey/red = signal plus jumper to Negative side of led
- led:
- white = jumper mentioned above.
- orange = 12v on or acc. wire
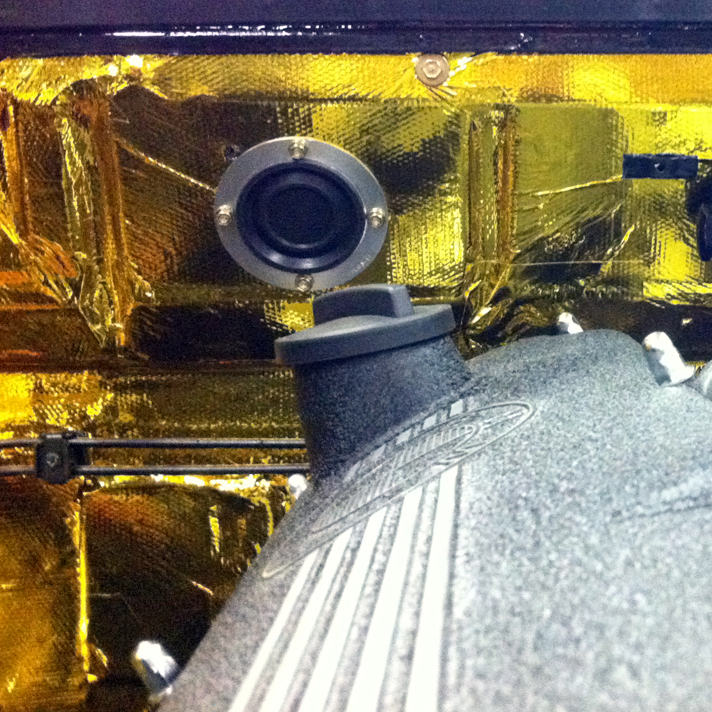
Seals-it Firewall Grommets
really stoked to see the haltech harness poke thru these guys. such a nice dress up item!

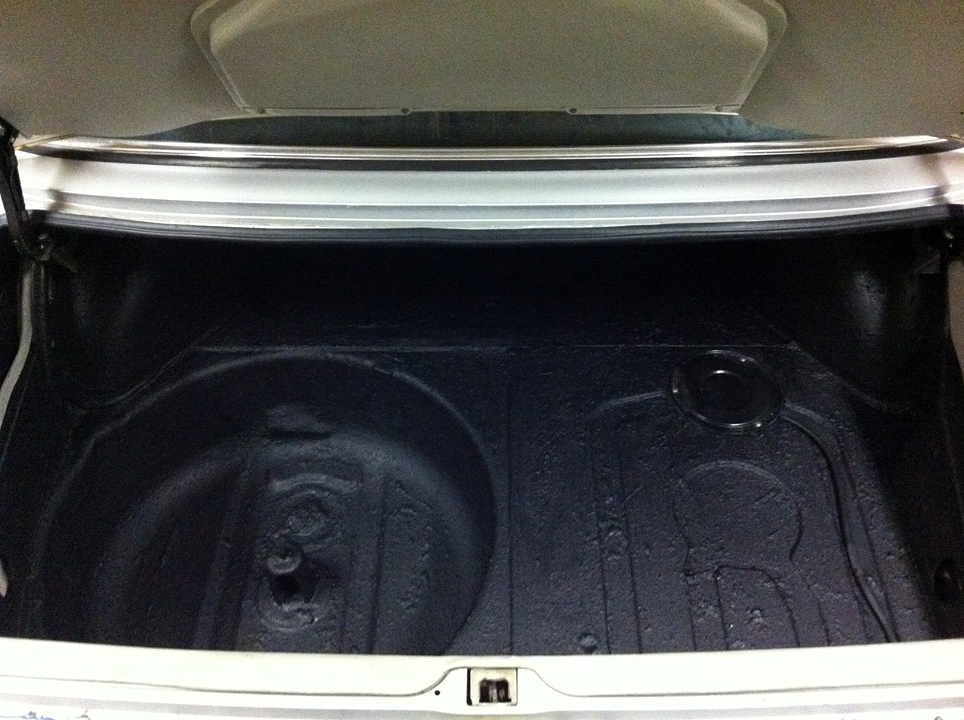
bed-armor
got the duplicolor bed-armor with kevlar for the trunk. wasnt going to fool it originally but the trunk was really a short coming in the build. took 3 coats but im very pleased with the outcome. also thru in a little paint.


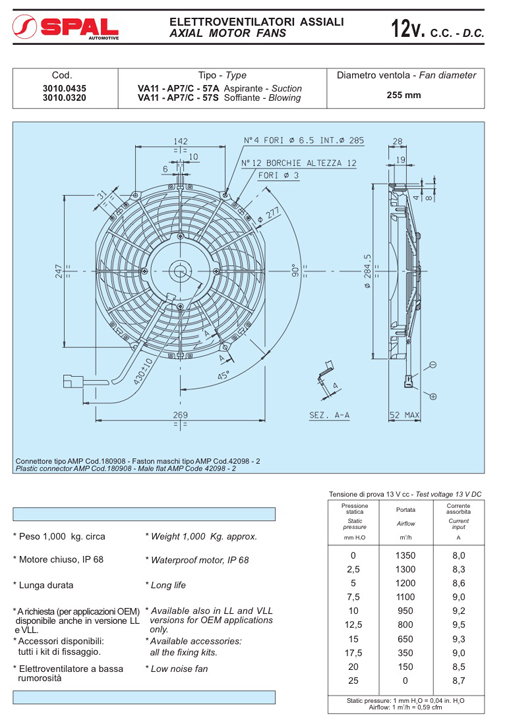
spal puller fan
since i am no longer using the giant mechanical clutch fan. the spal 30100435 puller fan should be plenty, its only a 10″ its low profile and 802 cfm.
amazon sure knows how to waste shipping space and material.
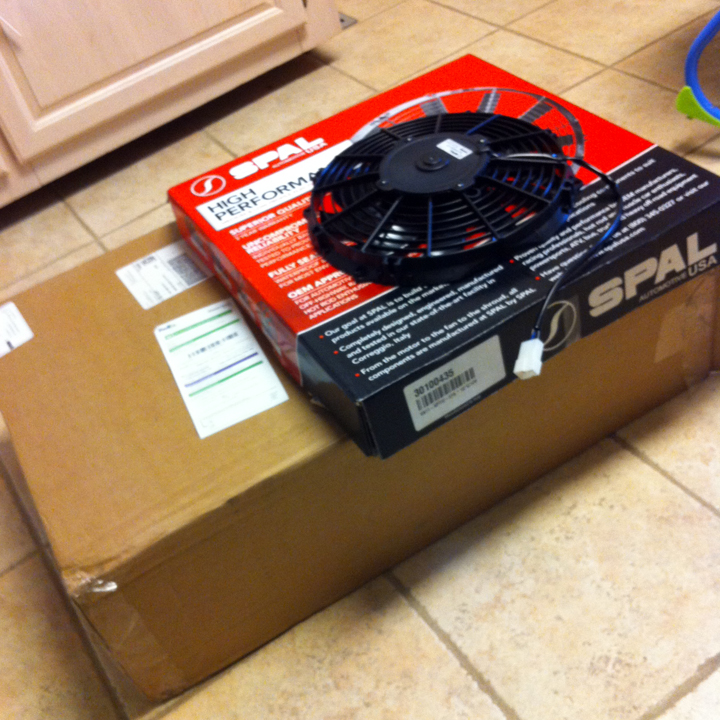
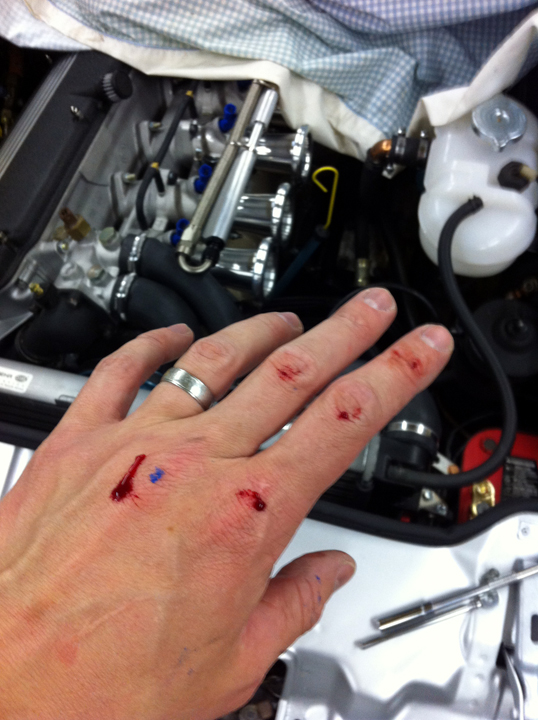
only a little blood from the new radiator blades.
Vacuum Block
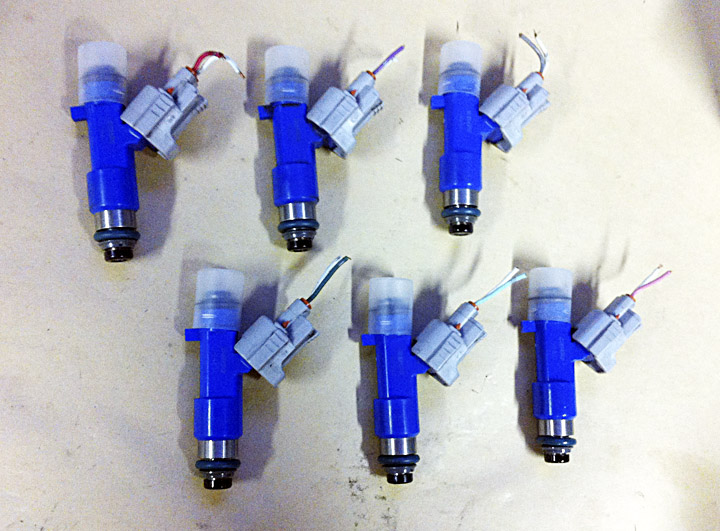
not bad for an ebay special. the build quality is great. also notice the injectors and fuel line straps installed.
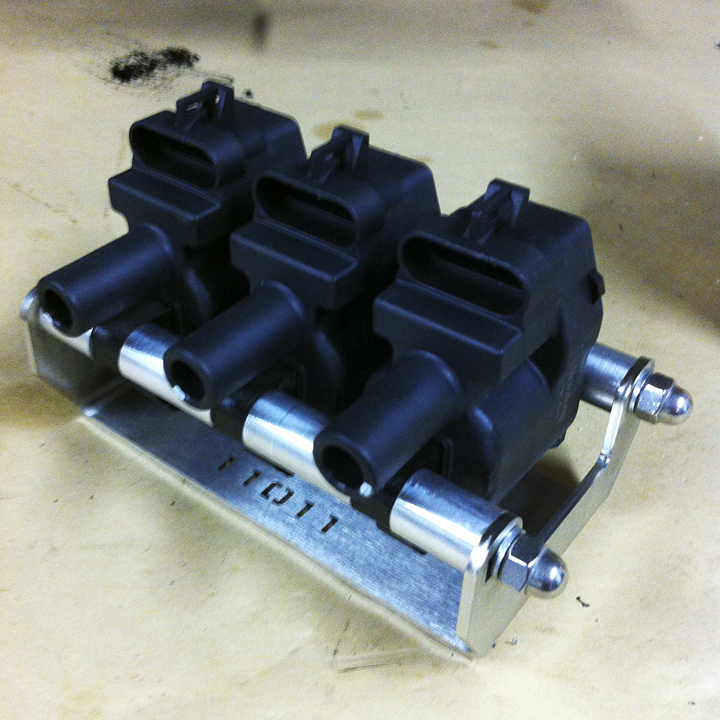
COILS
2004 c5 z06 LS1 packs should be suitable for my spark. i got cbmmotorsports.com to fab up a 2×3-6 cylinder mount for me.


velocity stacks
after sending in my measurements these showed up about a week later. would’ve like longer ones but these were the longest i could fit and still use a filter elements. they look so mean, i cant wait to hear it.


Painting the Fender Rails
after attending the vintage this past week it made me want to tidy up a bit. decided to go ahead and dress up the fender rails. i used http://www.automotivetouchup.com for a ready to spray can, came out great !


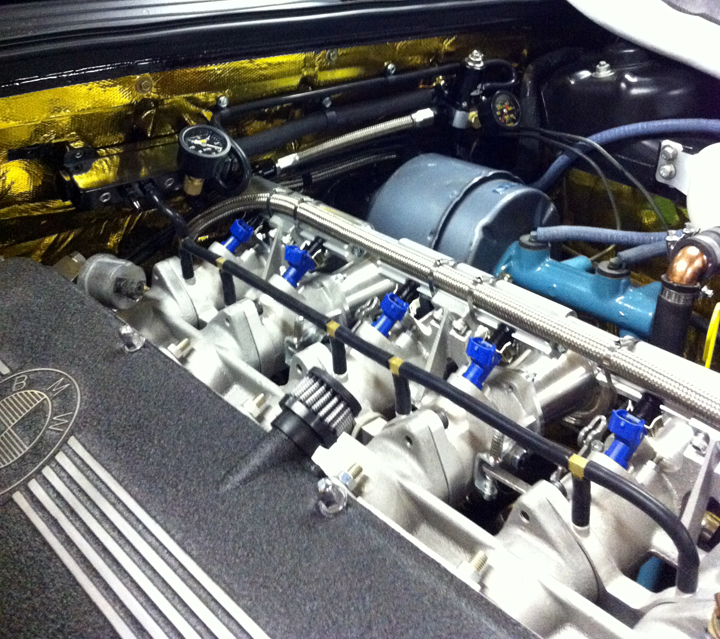
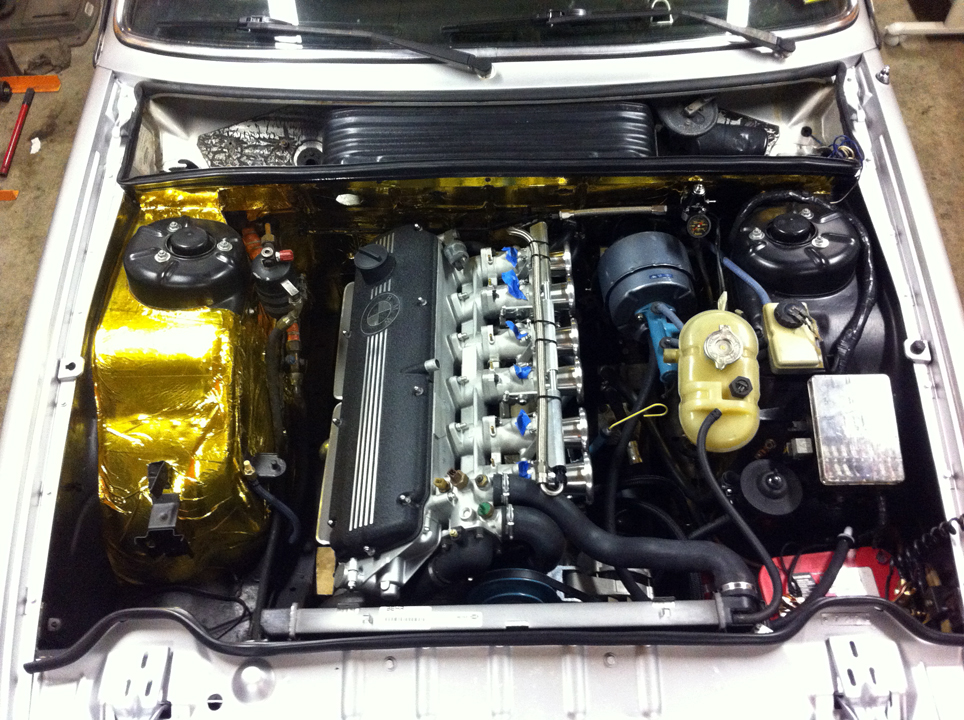
ITB : Sidedraft
been installing the throttle bodies over the last few days, i went with a TWM induction systems setup. little disappointed with fit issues needed to be addressed considering price point. a good bit of filing and some additional machining was needed.
after install i recorded data for the stacks based on clearances and have them on order.


below are some of the fit issues:
contact with tstat housing / hardware clearance.


saddle paint
this past week i was to the point i felt safe enough and far enough along to paint the radiator saddle.


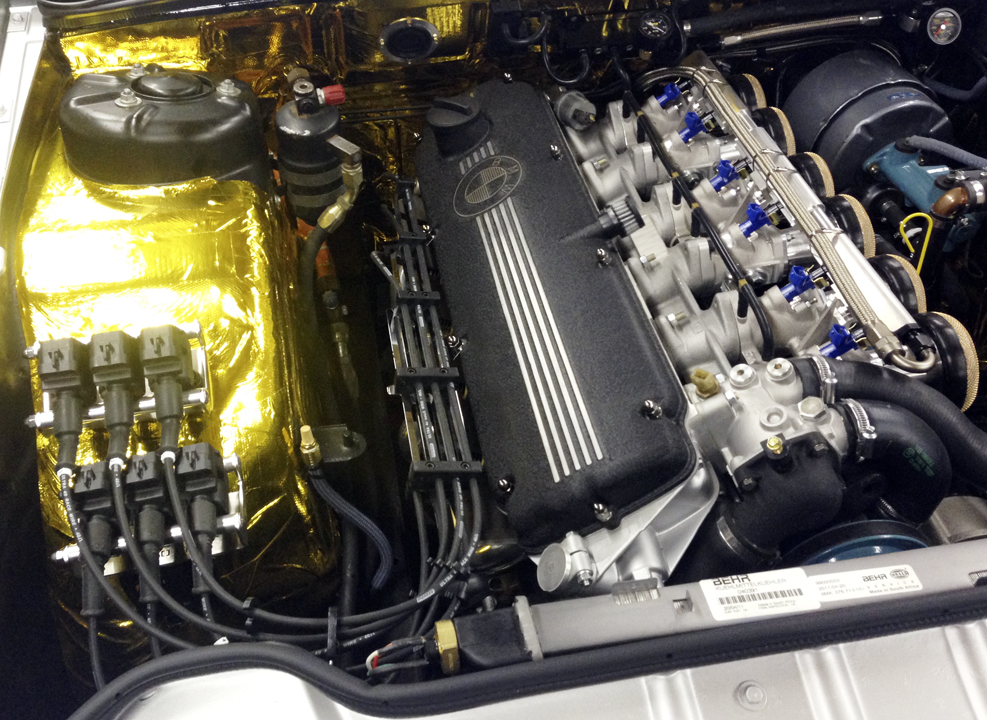
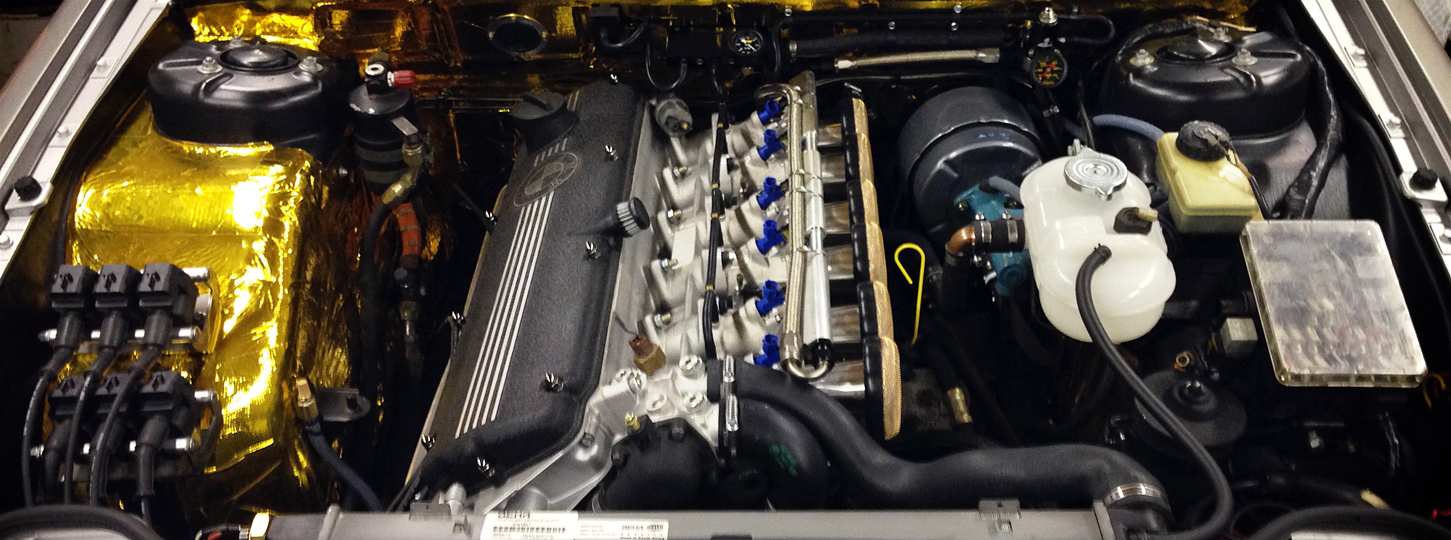
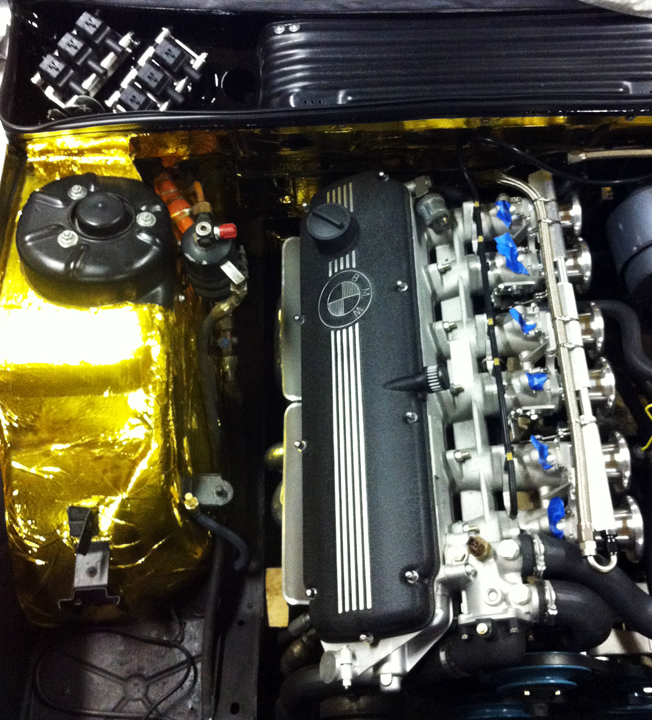
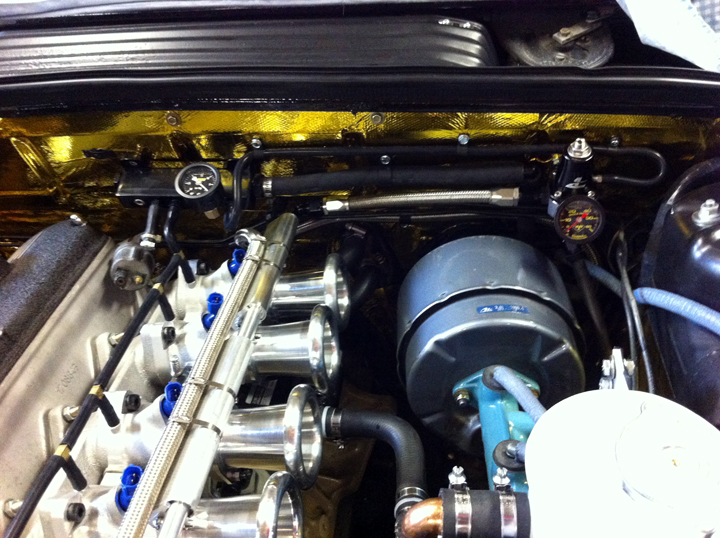
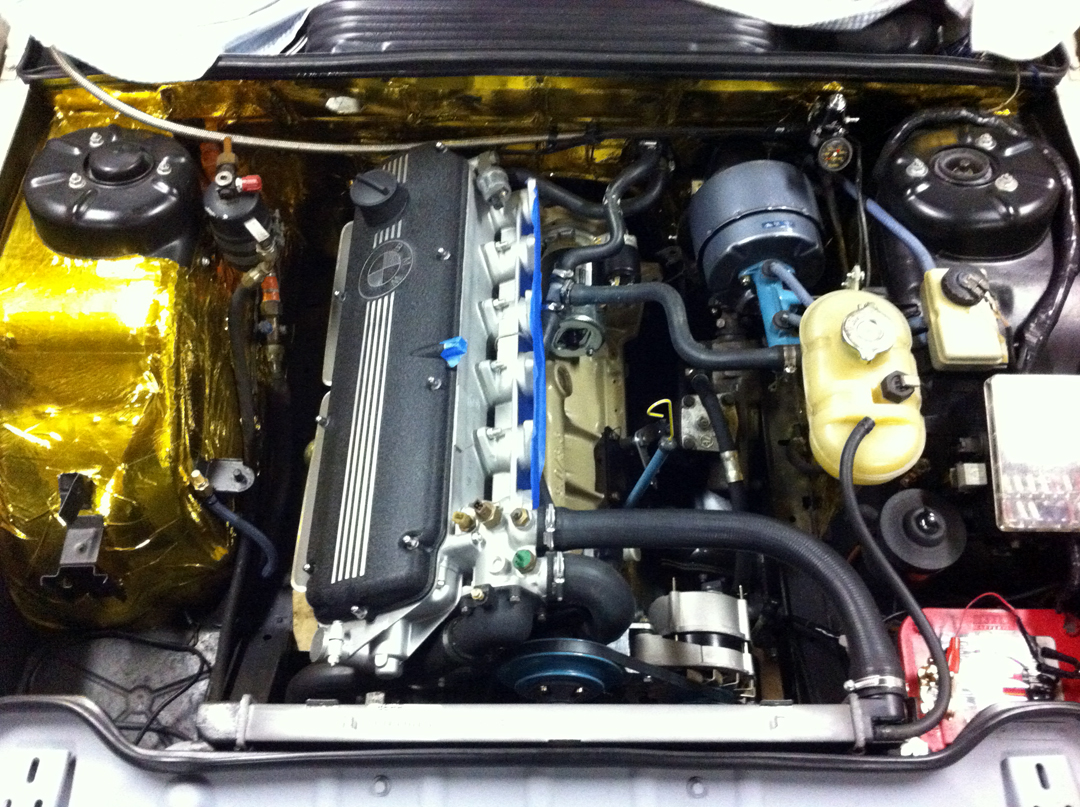
motor shot
shot of the engine, using this for mapping out the EMS placement. and this is likely the last shot before the sidedraft install.